Adding Some More Utility
Totally Tubular
Solar shower and water storage
The project was for a simple solar heated water tank. The plan was for a simple water storage tube with a pressure fitting, spigot, fill and shower adapter of some sort. Someone already did the math and 4" PVC yields about .653 gallons / ft.. So the 10' tube length will get me about 6.5 gallons of water capacity. Nice!
After watching a handful of DIY videos I decided on a simple setup that didn't include a wye / tee drain clean out or a 45 / 90 end fitting. Just the tubing and two end caps. With all the fittings strategically placed in the end caps.
My Solar Water Heater Parts List
- (1) 10' 4" Schedule 40 PVC ( Menards $12 )
- (2) 4" Schedule 40 caps ( Menards $6.70 @ )
- (1) 4oz PVC primer / (1) 4oz PVC cement ( Menards $6 @ set )
- (2) brass 1/2" threaded to water hose male( Ace Hardware $6.59 @ )
- (2) brass hose caps ( Ace Hardware $4 )
- (1) brass female-female hose coupler ( Ace Hardware $7 )
- (1) quick disconnect hose kit with shut-off ( Ace Hardware $4 )
- (1) thread in tire valve ( O'Reilly $2 )
- (1) brass radiator drain cock ( O'Reilly $4.10 )
- (2) 4" Muffler clamps
 The build is simple really. one cap gets
a single hole for a male hose fitting and cap. Once installed gluing that end cap on is the start. The other cap
gets three holes. One at the bottom for the hose fitting, another at the top for the radiator drain plug fitting
( the air vent ) and another at the top for the valve stem ( the pressure fitting ). Once the fittings are in
place then you can glue that cap on the other end of the tube. With the tube assembled a coat of primer and a
follow up coat of the flat black.
The build is simple really. one cap gets
a single hole for a male hose fitting and cap. Once installed gluing that end cap on is the start. The other cap
gets three holes. One at the bottom for the hose fitting, another at the top for the radiator drain plug fitting
( the air vent ) and another at the top for the valve stem ( the pressure fitting ). Once the fittings are in
place then you can glue that cap on the other end of the tube. With the tube assembled a coat of primer and a
follow up coat of the flat black.
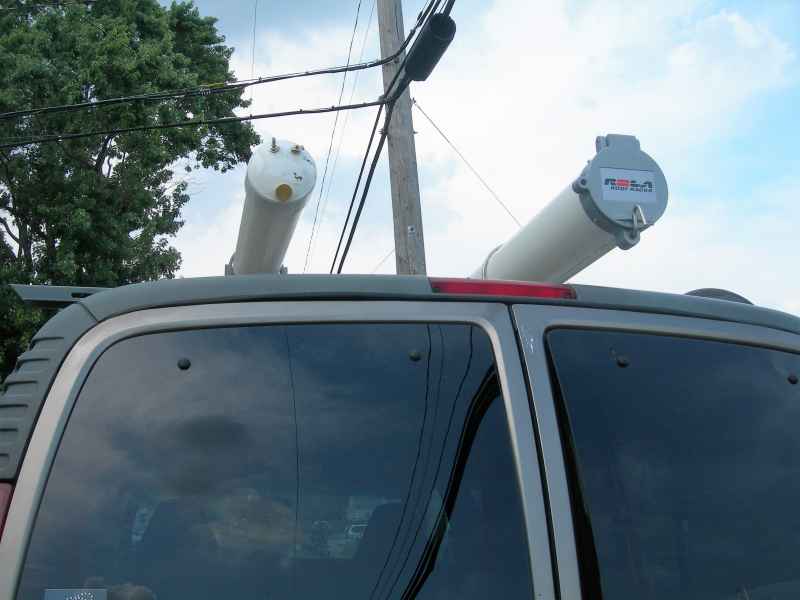
The main cap has a male hose fitting. The addition of the shutoff with quick connect makes hose hookup and disconnect a breeze. The tire valve is for pressurizing the unit ( just 10-15# ) and the drain cock releases air on fill up and pressure discharge. The other end has a male hose fitting and cap for filling the tube from a garden hose using a female-female coupler. Opening the drain cock allows the tube to fill completely.
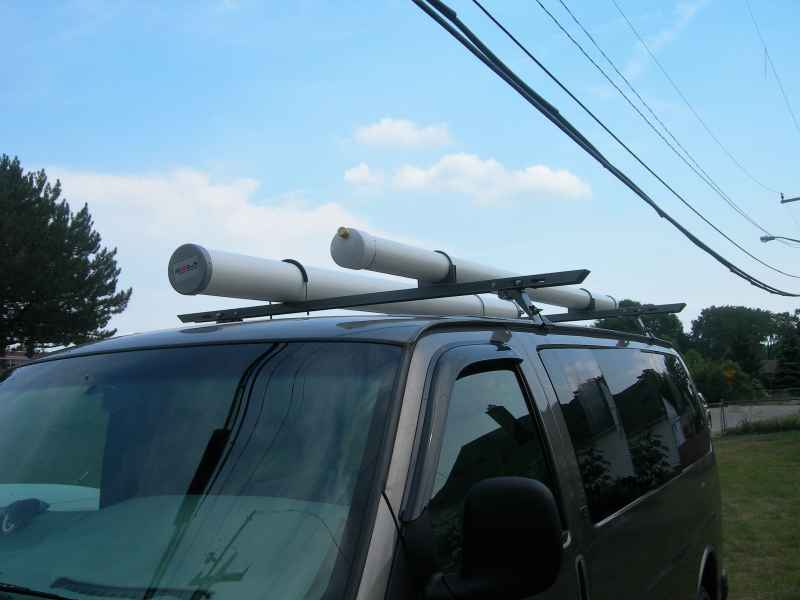
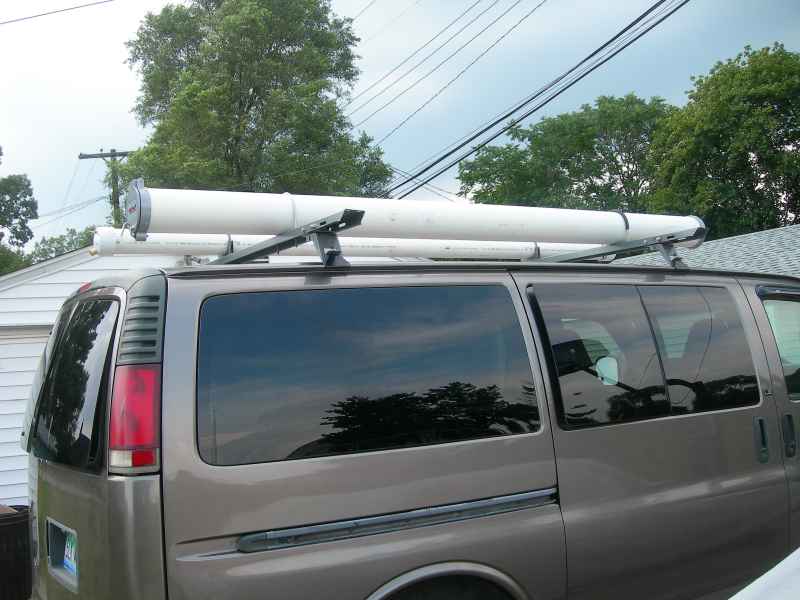
Mounting the tube unit to the rack was done with a pair of 4 1/2" muffler clamps. An odd size but still easy to get. ( Nicson #517412 ) They create a stable saddle and the rack was already drilled to accept the bolt spacing. I haven't gotten around to the black paint yet but that will be done once it is assembled and tested good. And the shower head thing will have to be worked out. But shouldn't be a big deal. I have already scouted a 4' long 1/2" washing machine feed hose that should do the job.
Canopy Storage Tube
The project was for a storage tube for the canopy and framework when not in use. Saving space in the van.
 After initially intending to use some
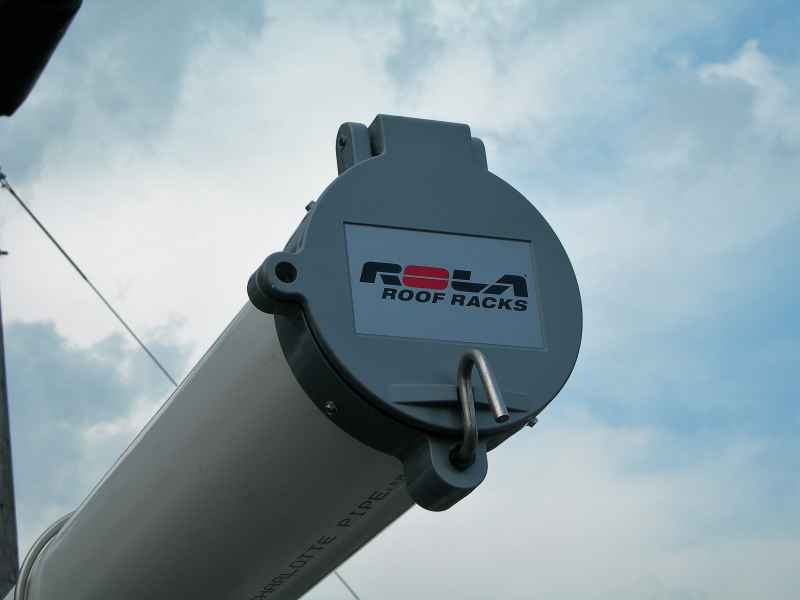
simple PVC components I opted for a sturdy pre-built kit that had all aluminum components. I went online and
ended up on etrailer.com and ordered a 6" conduit carrier kit with end
cap, hinged locking door assembly and mount clamps and straps . The only thing I had to supply was the 10' of
6" Schedule 40 PVC. The rest was easy to do. Screw on the end caps and mount it to the rack. The mount
loops easily bolted to existing holes in the rack rails. I did cushion the mount loops with some 3/8" fuel
line.
After initially intending to use some
simple PVC components I opted for a sturdy pre-built kit that had all aluminum components. I went online and
ended up on etrailer.com and ordered a 6" conduit carrier kit with end
cap, hinged locking door assembly and mount clamps and straps . The only thing I had to supply was the 10' of
6" Schedule 40 PVC. The rest was easy to do. Screw on the end caps and mount it to the rack. The mount
loops easily bolted to existing holes in the rack rails. I did cushion the mount loops with some 3/8" fuel
line.
My Canopy Carrier Parts List
- (1) 10' 6" diameter PVC pipe ( Menards $23 )
- (1) Rola Conduit Carrier Kit - 6" Diameter ( eTrailer $65 )